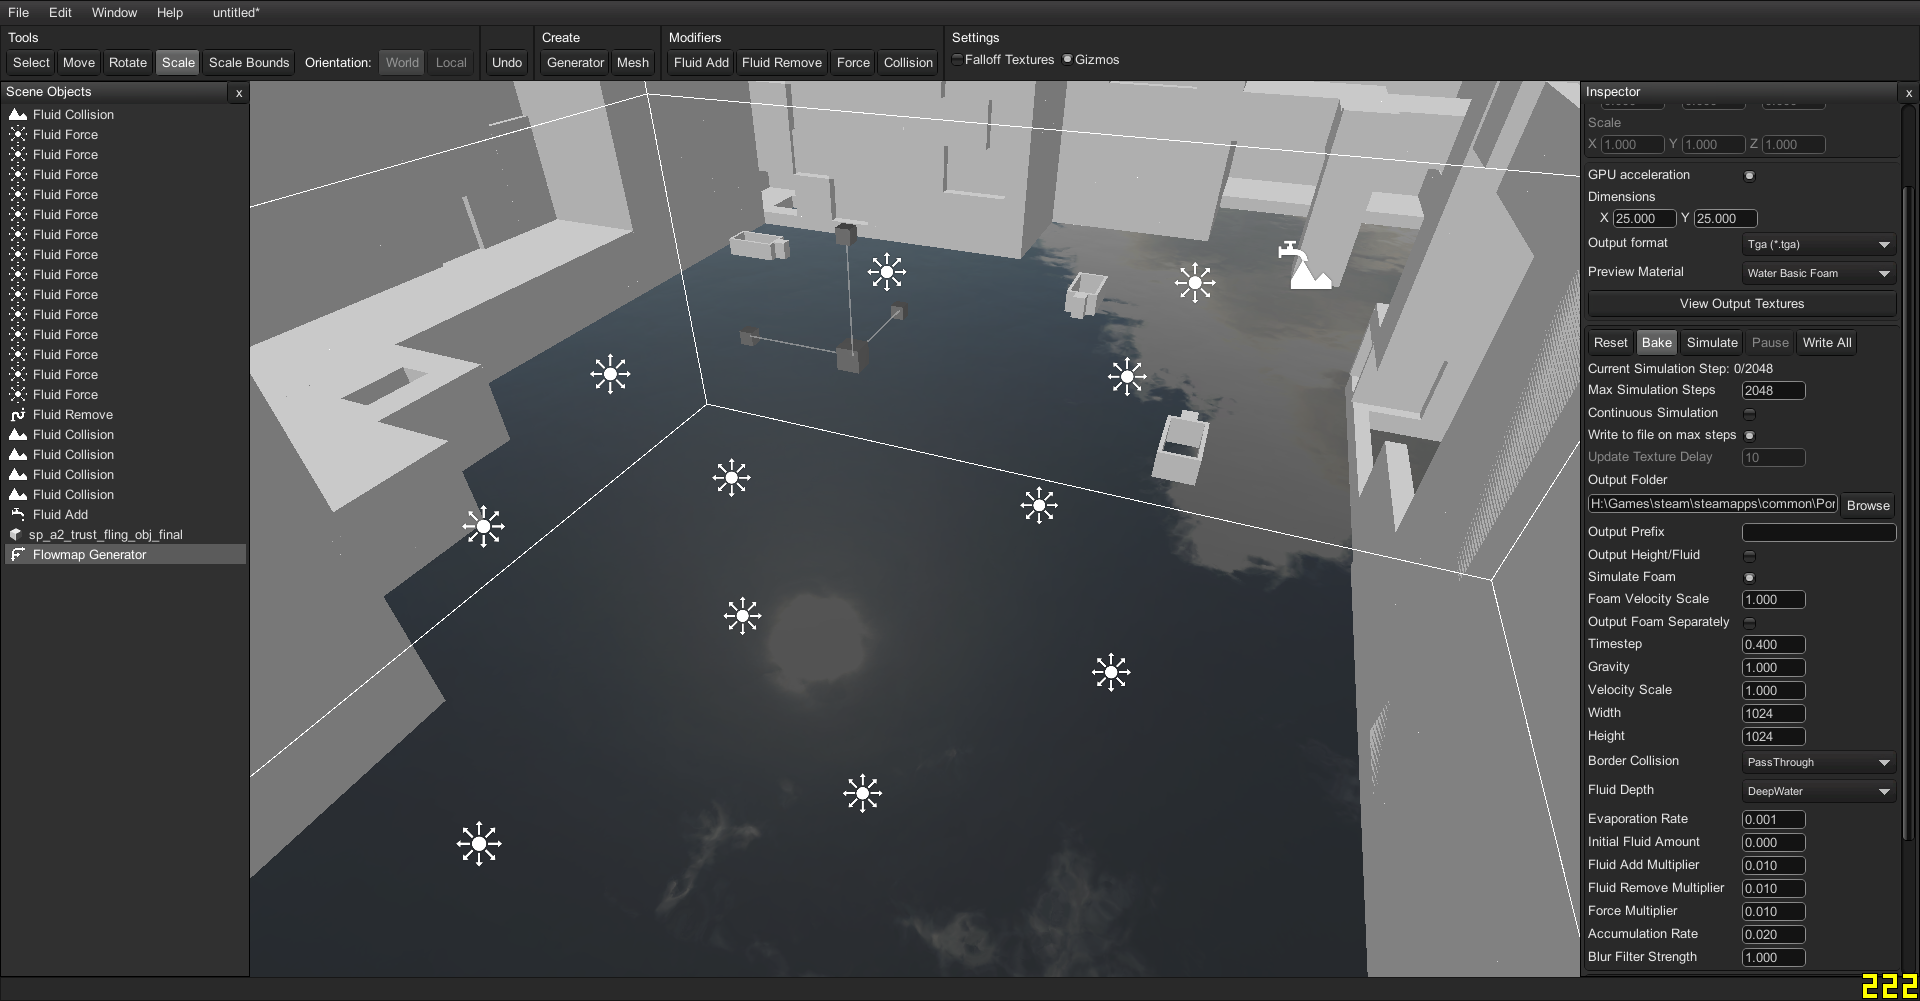
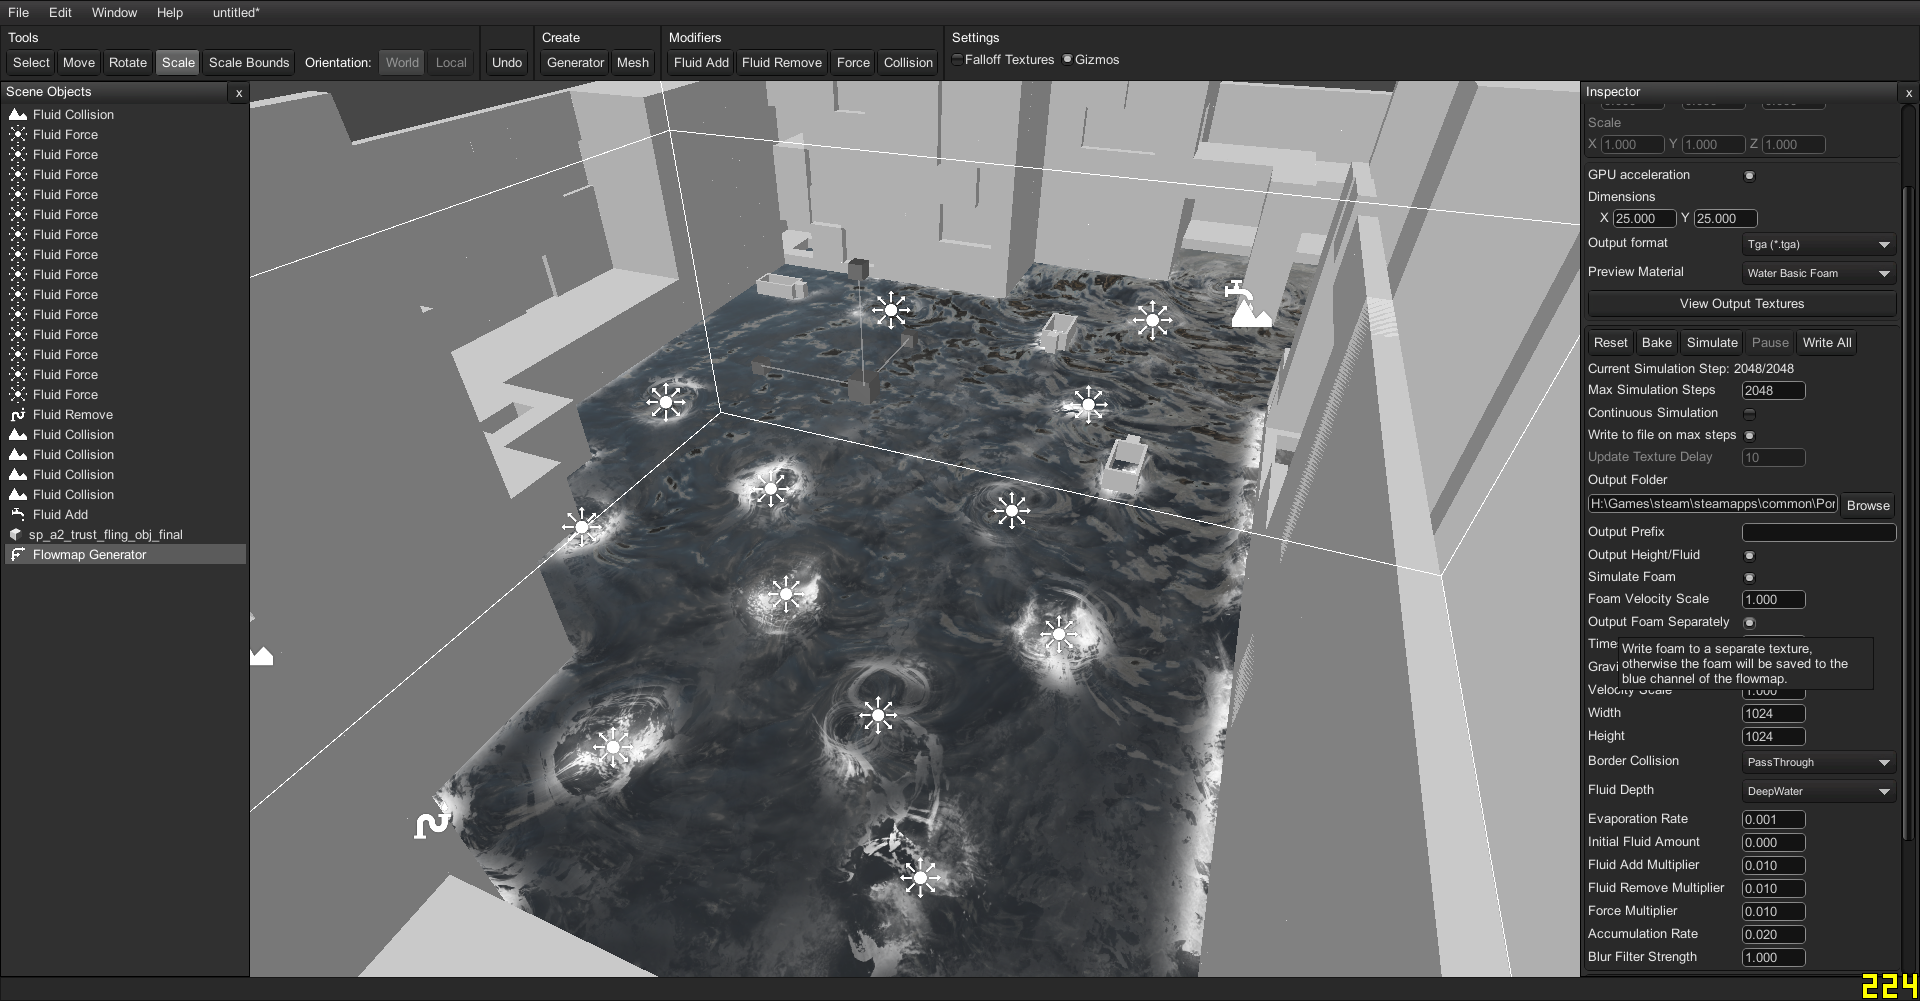
Valve added Flowmaps in the L4D2 and later versions of Source. Valve used Houdini to create theirs, but most people don’t have access or experience in Houdini to create flow maps in the fashion that Valve did.
What is a flowmap?
A flowmap is a 2d texture that, according to colour values: scrolls the water normalmap over it, creating the effect of water “flowing”, hence the name flowmap.
This guide will teach you how to author your own flowmaps for Source, I am using the Portal 2 branch, but Alien Swarm, and CS:GO will work too.
You will however need to purchase a $25 program to simulate the flowmaps. There is also a trial available for that program, so you can evaluate it for your team. The rest can be done with free programs:
The programs you will need
- Water/Flowmap simulator
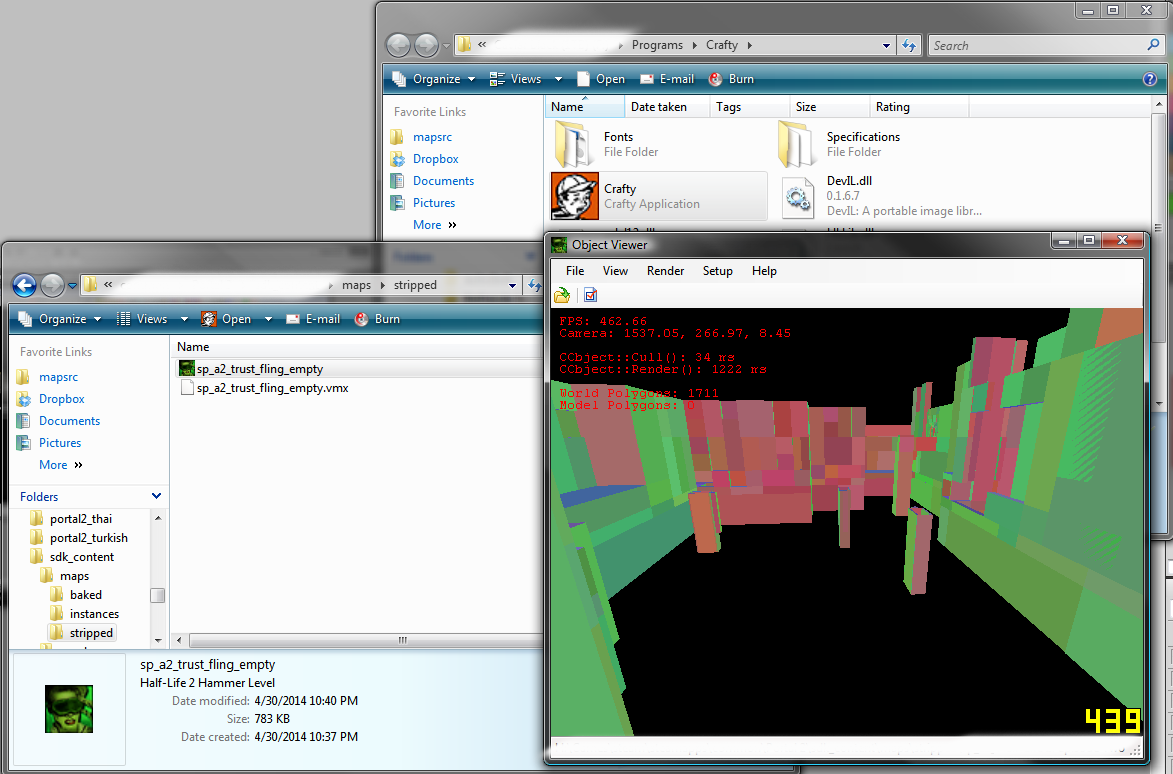
- Crafty
- Blender (Or 3ds max)
- Image editor of your choice
- VTFEdit
- Hammer Editor
HAMMER
Alright, now that you’ve got everything set up, lets open our map in hammer:
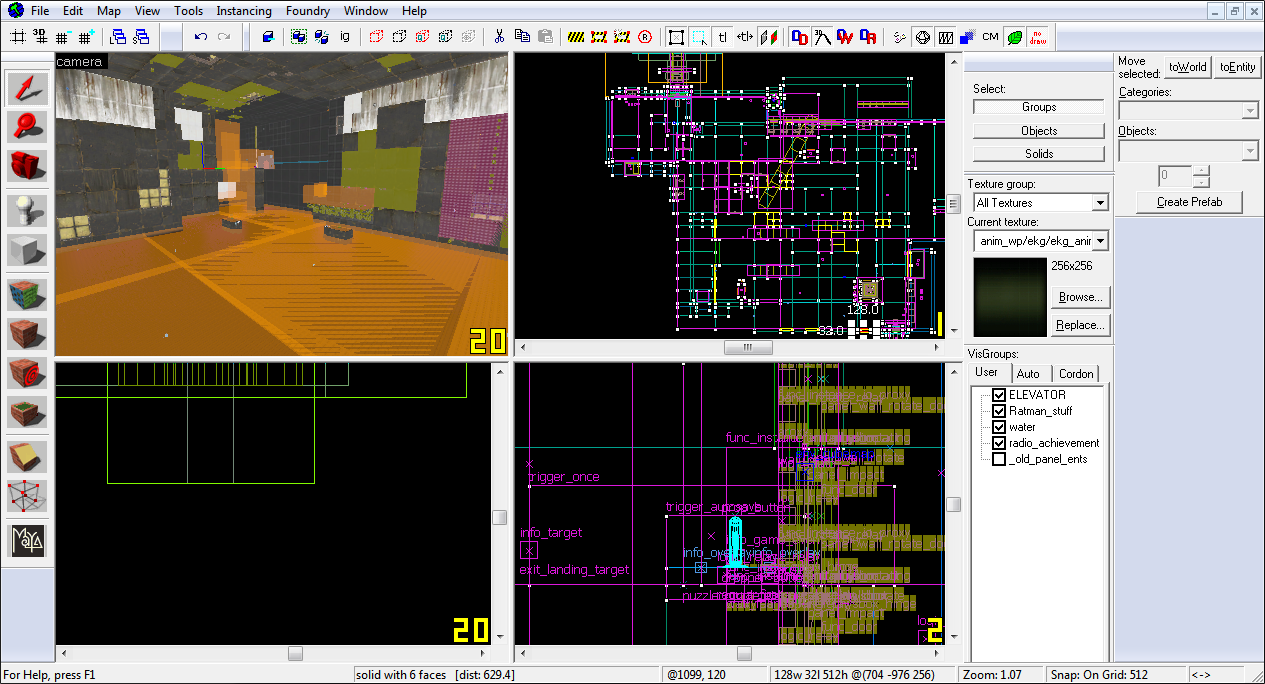
We’re going to need to clean it up, we only need the base geometry that is going to be colliding with our water. If you have props or something in the water, create a brush to block out the shape.
Removing the ceiling and floors is a good idea, so you may see inside.
It’s recommended you add some way to indicate the water level with brushes so you can properly align the simulated water height
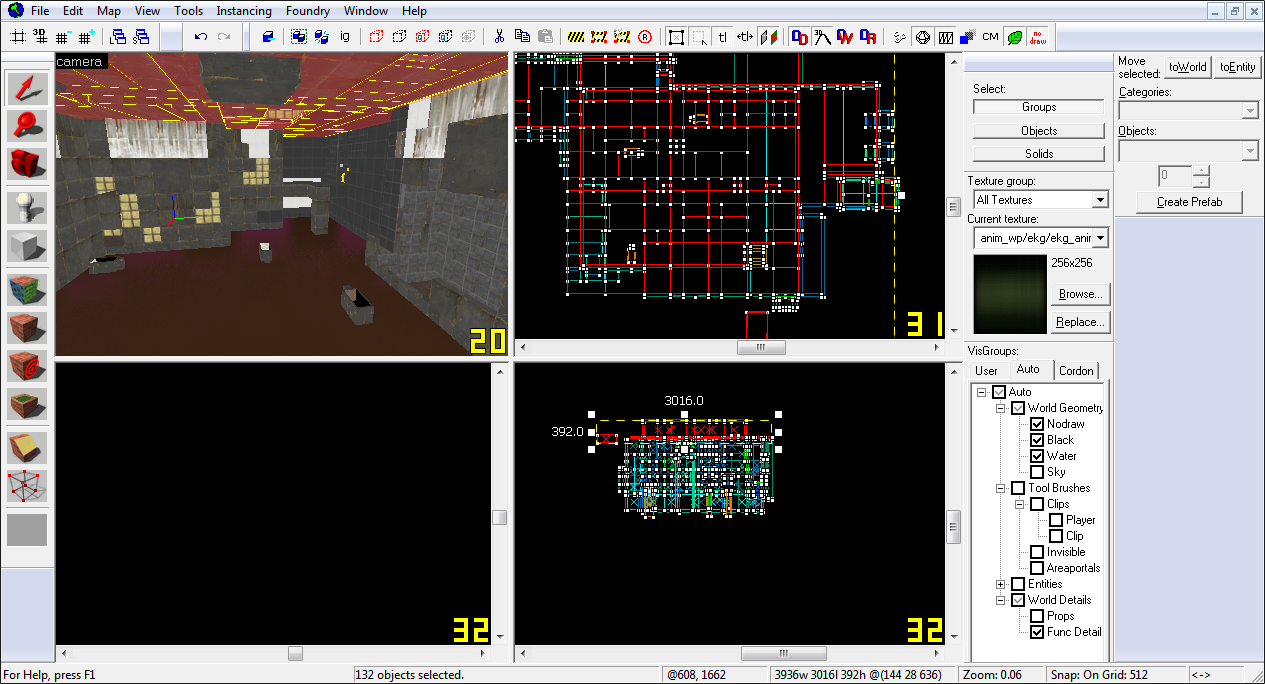
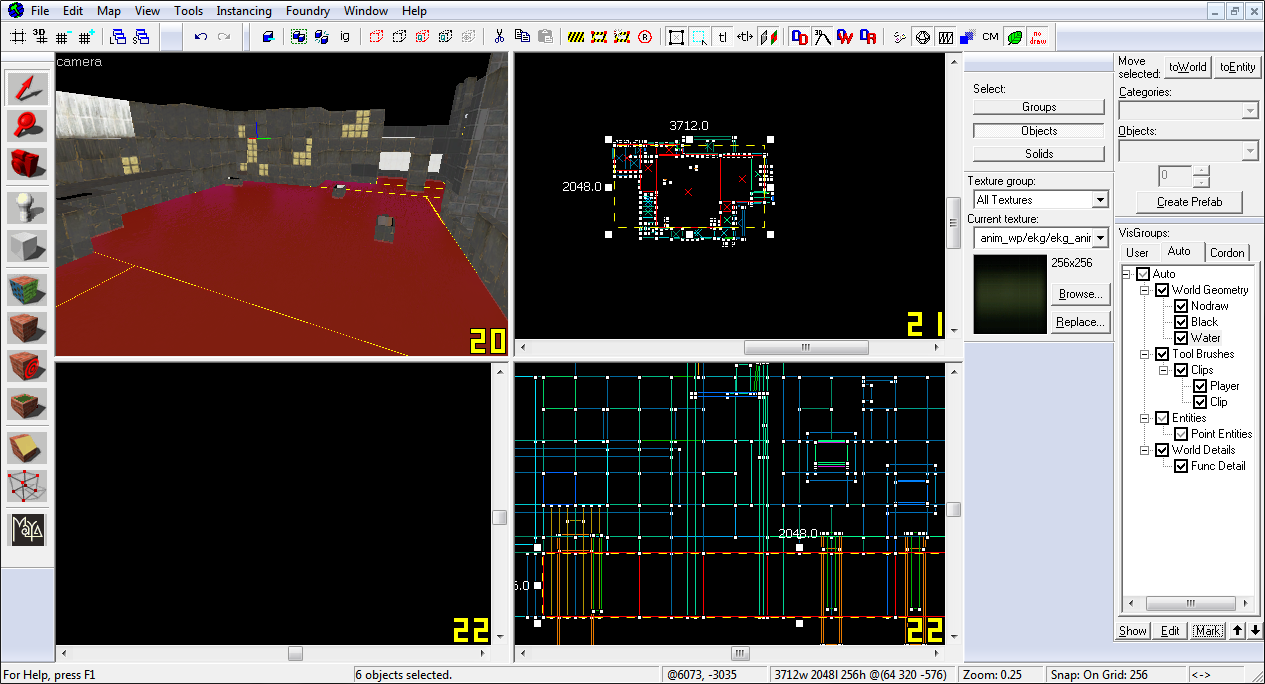
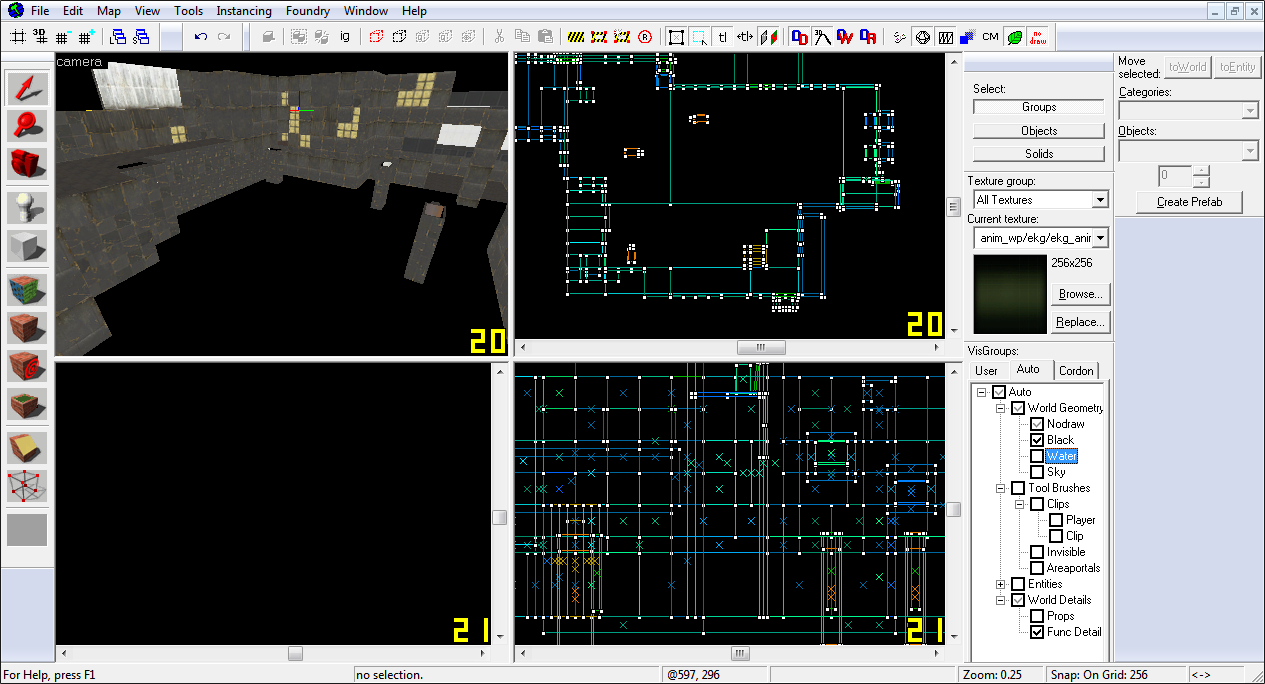
Note: in this screenshot, the visgroups are toggled off, you need to actually delete the brushwork)
Delete the water plane, you must be able to see right through the map where the water will be flowing.
There we go, now save it with a name to indicate it’s for water simulation.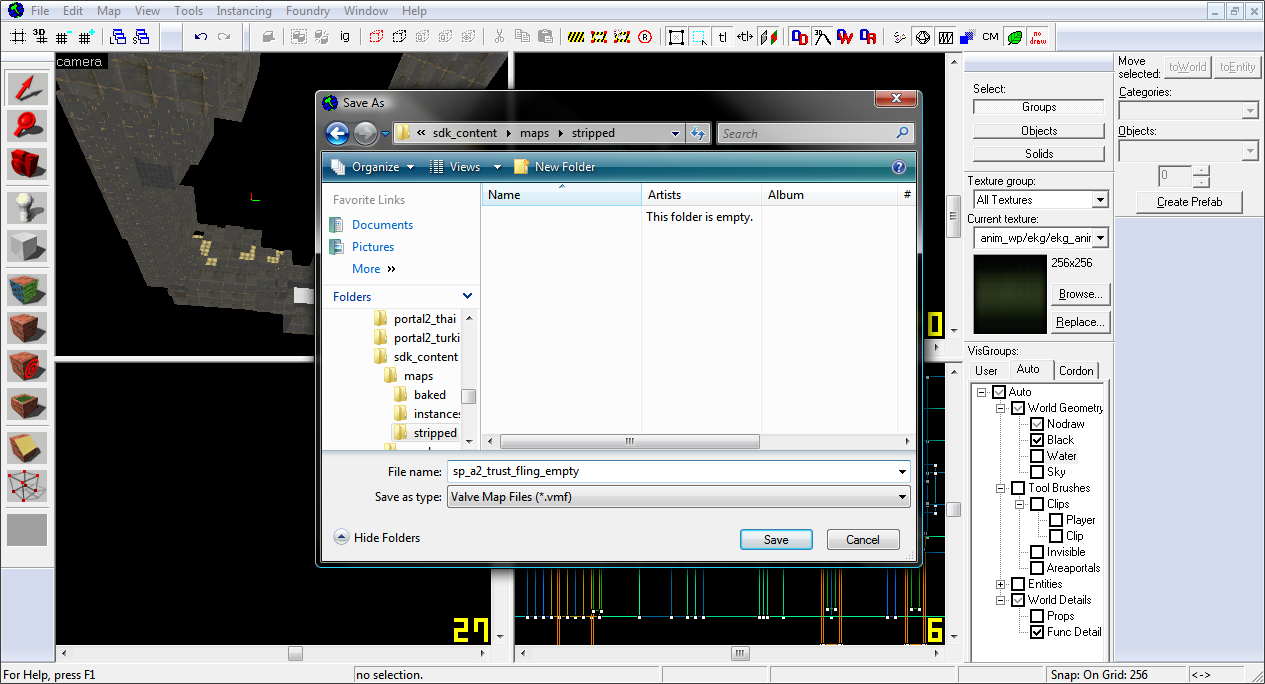
CRAFTY
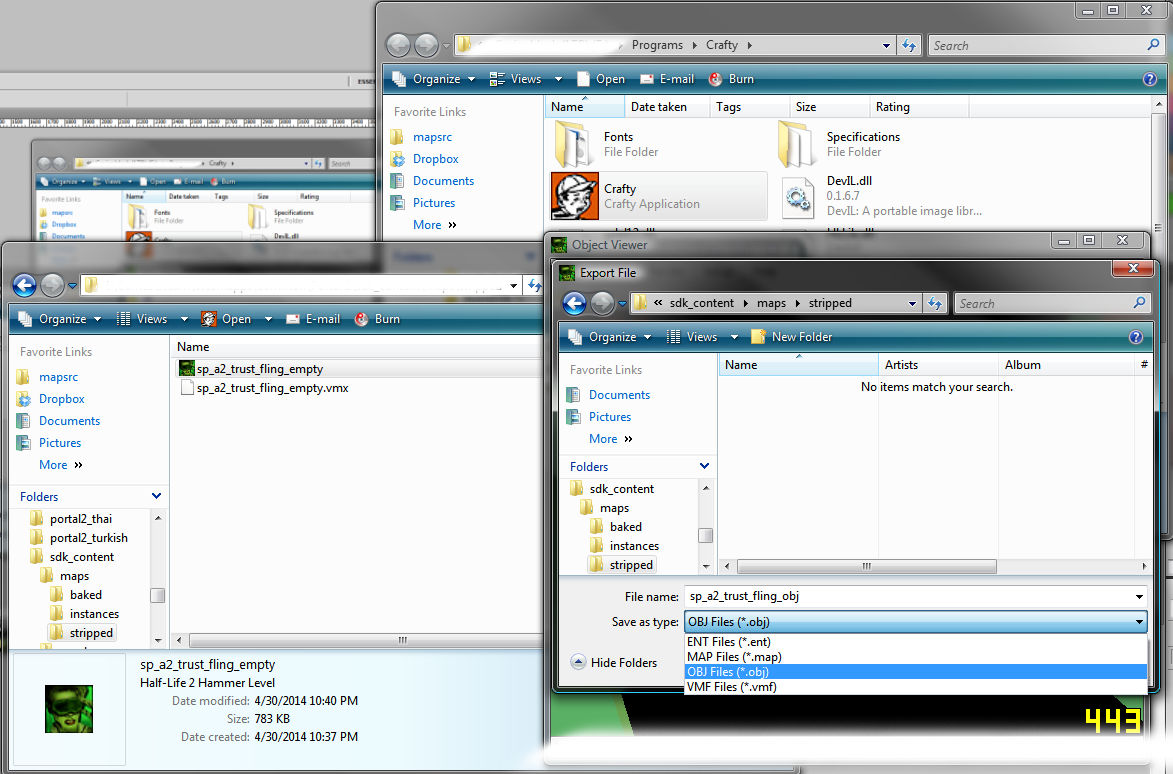
Simply open the map in Crafty, then export to OBJ.
.
Now, we’re opening that in
BLENDER
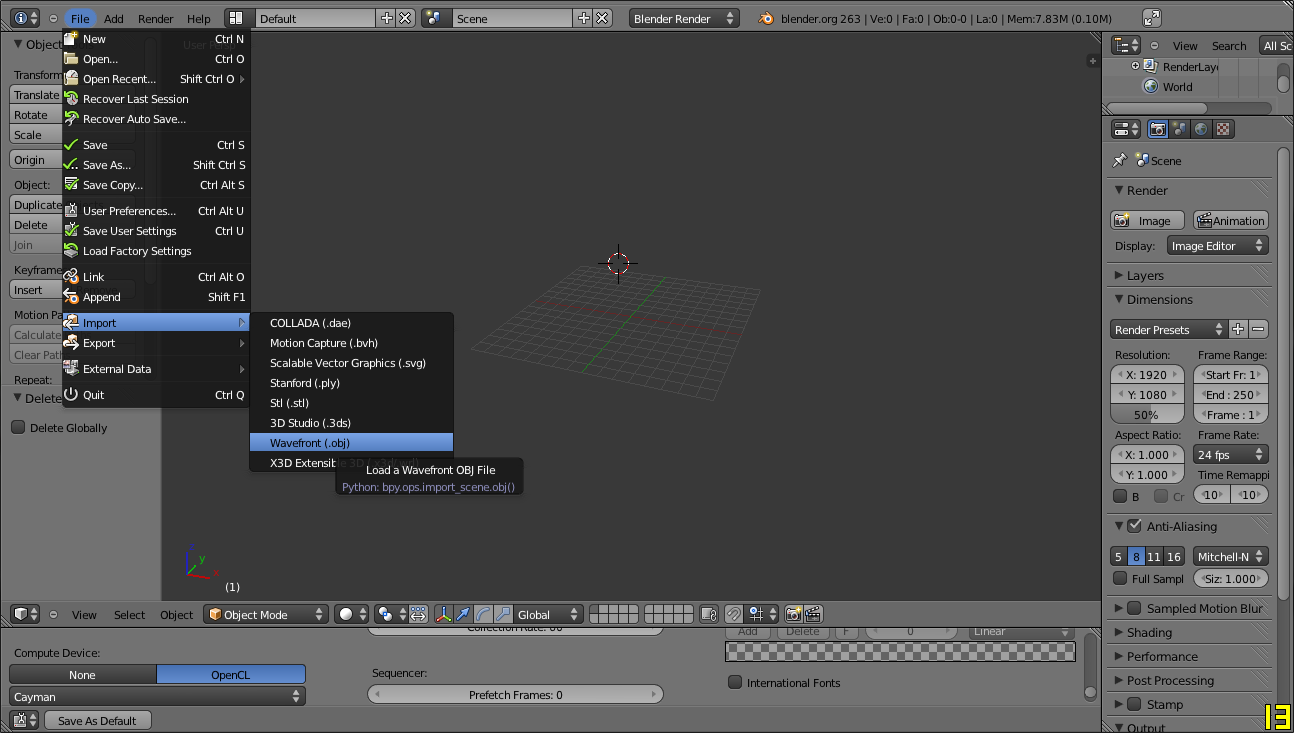
Alright, Import OBJ (Waveform) in blender, and find the file you saved.
Get your bearings, you may want to resize it to 0.05 or less, so it isn’t massive.
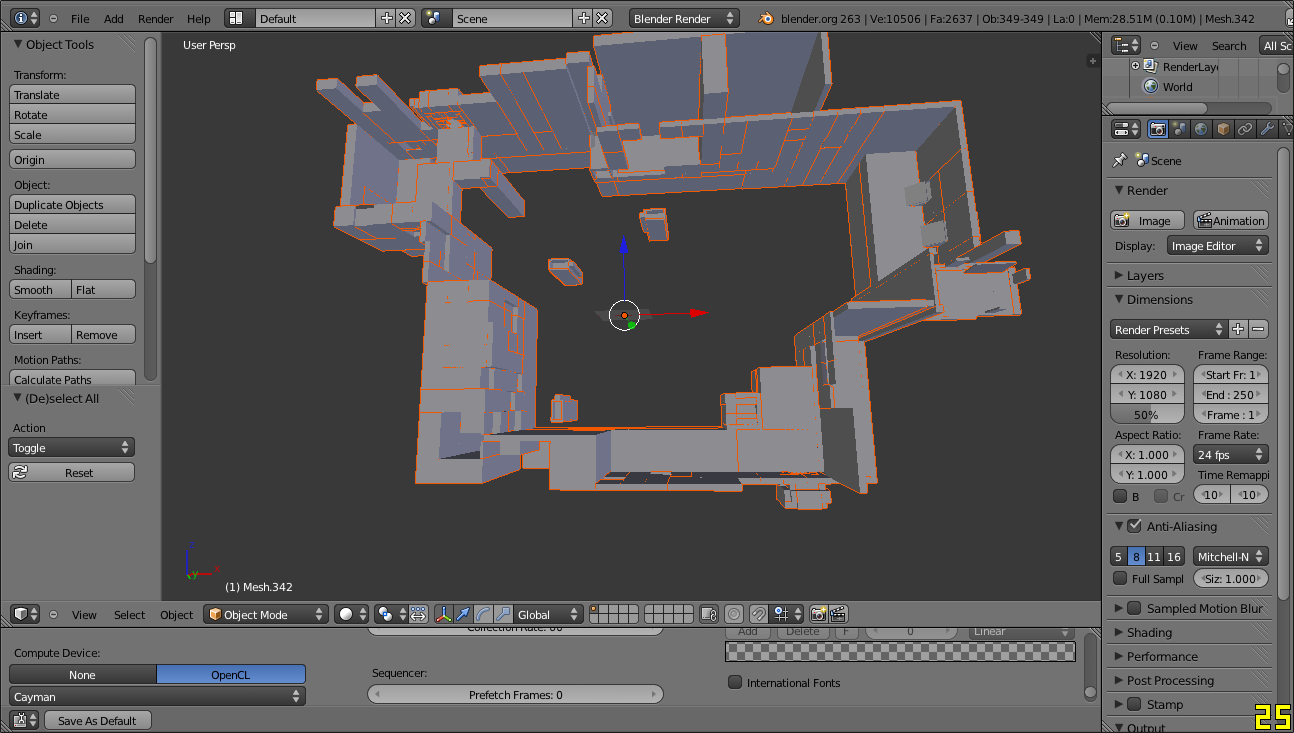
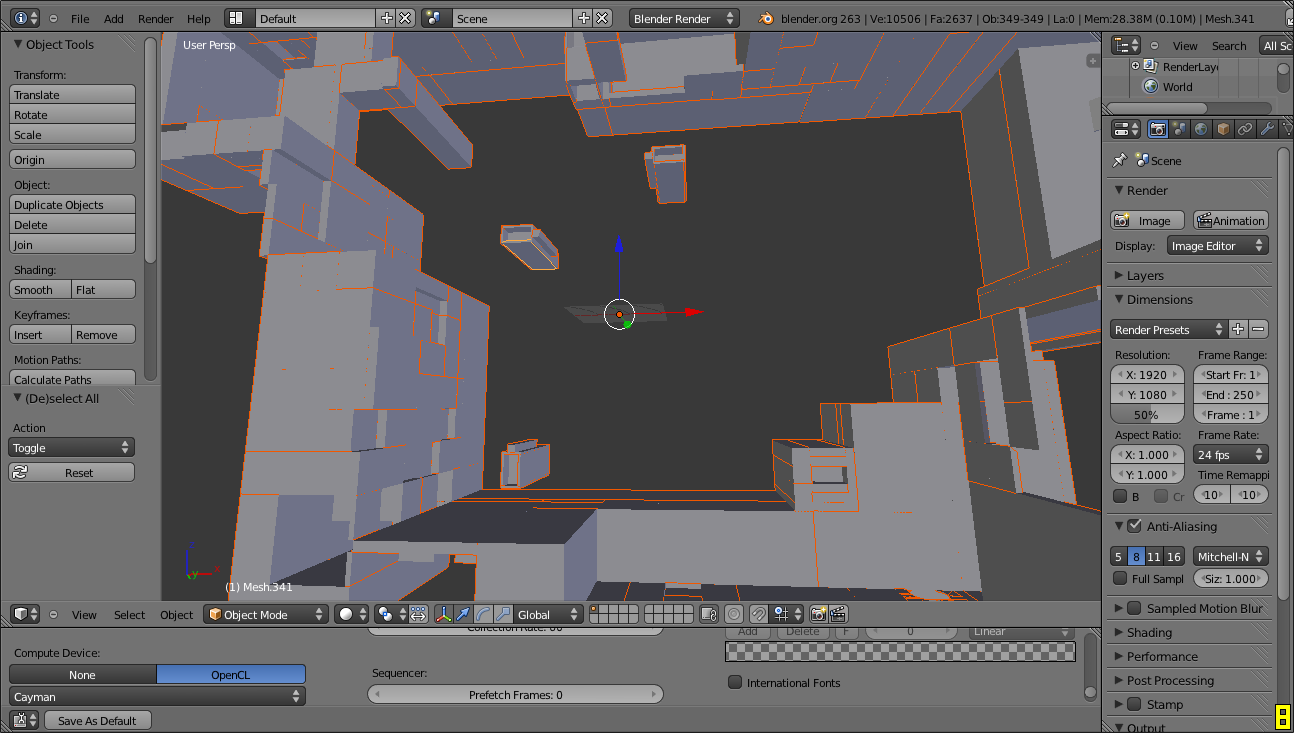
It’ll be tilted, just deal with it for now, you can change it later in the flowmap generator. Select everything by pressing A, then shift select another part.
The shift-selected piece will glow a lighter orange,
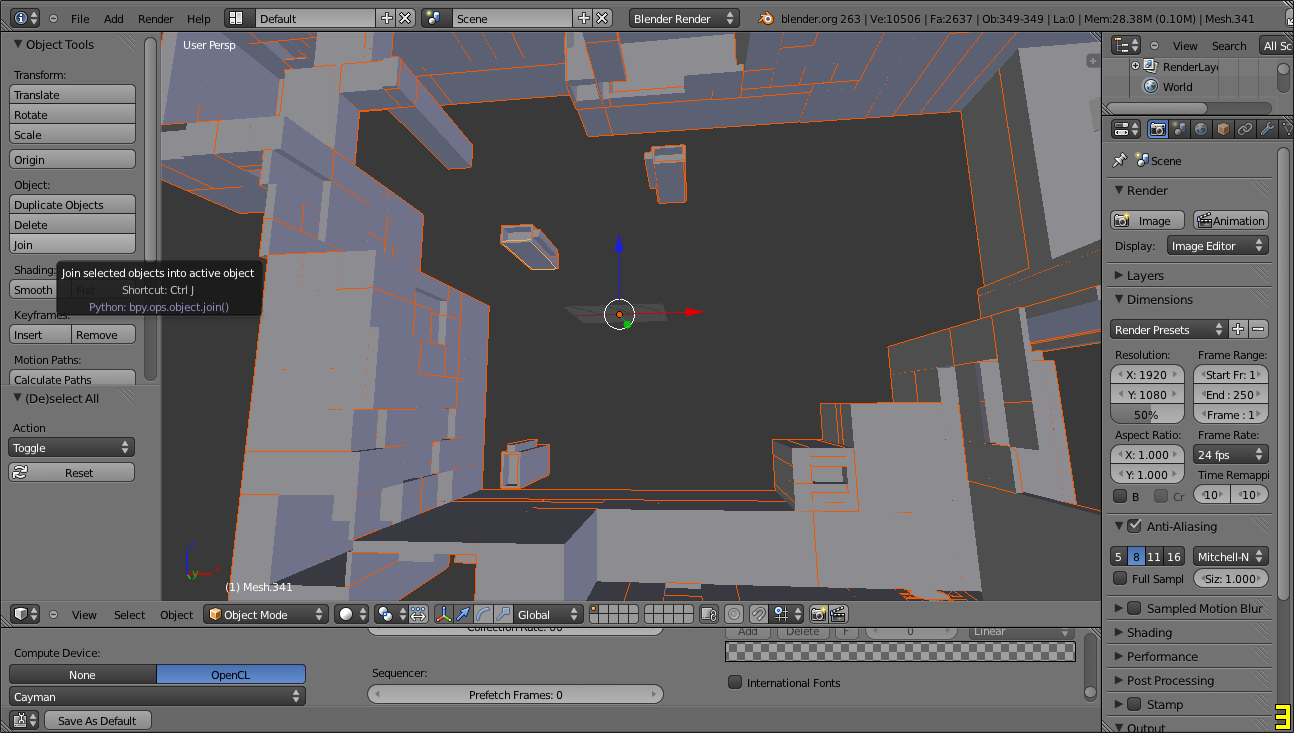
Go ahead and press the Join button now (If you haven’t shift-selected a part, it won’t allow you)
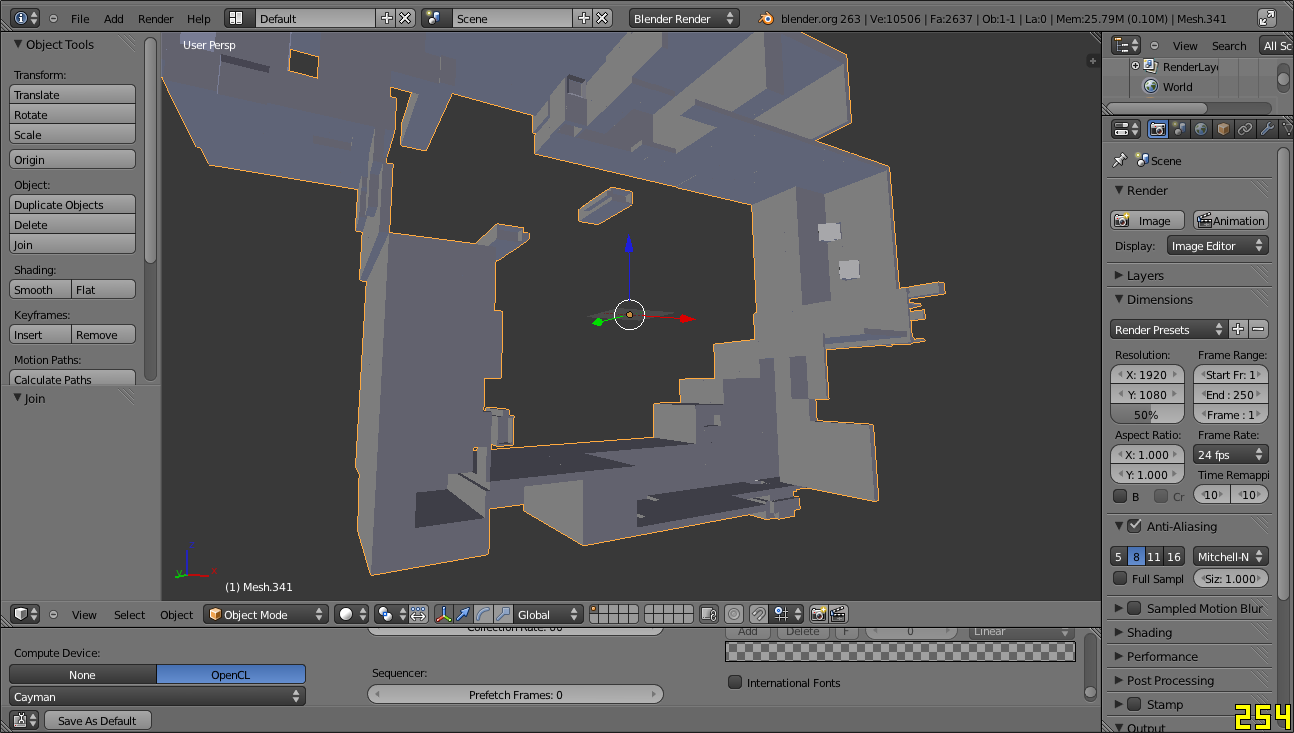
You’ll now have a single mesh, go ahead and export that as an OBJ, something like “mapname_obj_final”
Almost there, now we just need to use the
Flowmap Generator
You should probably play around with this tool before doing this, it’s got some quirks.
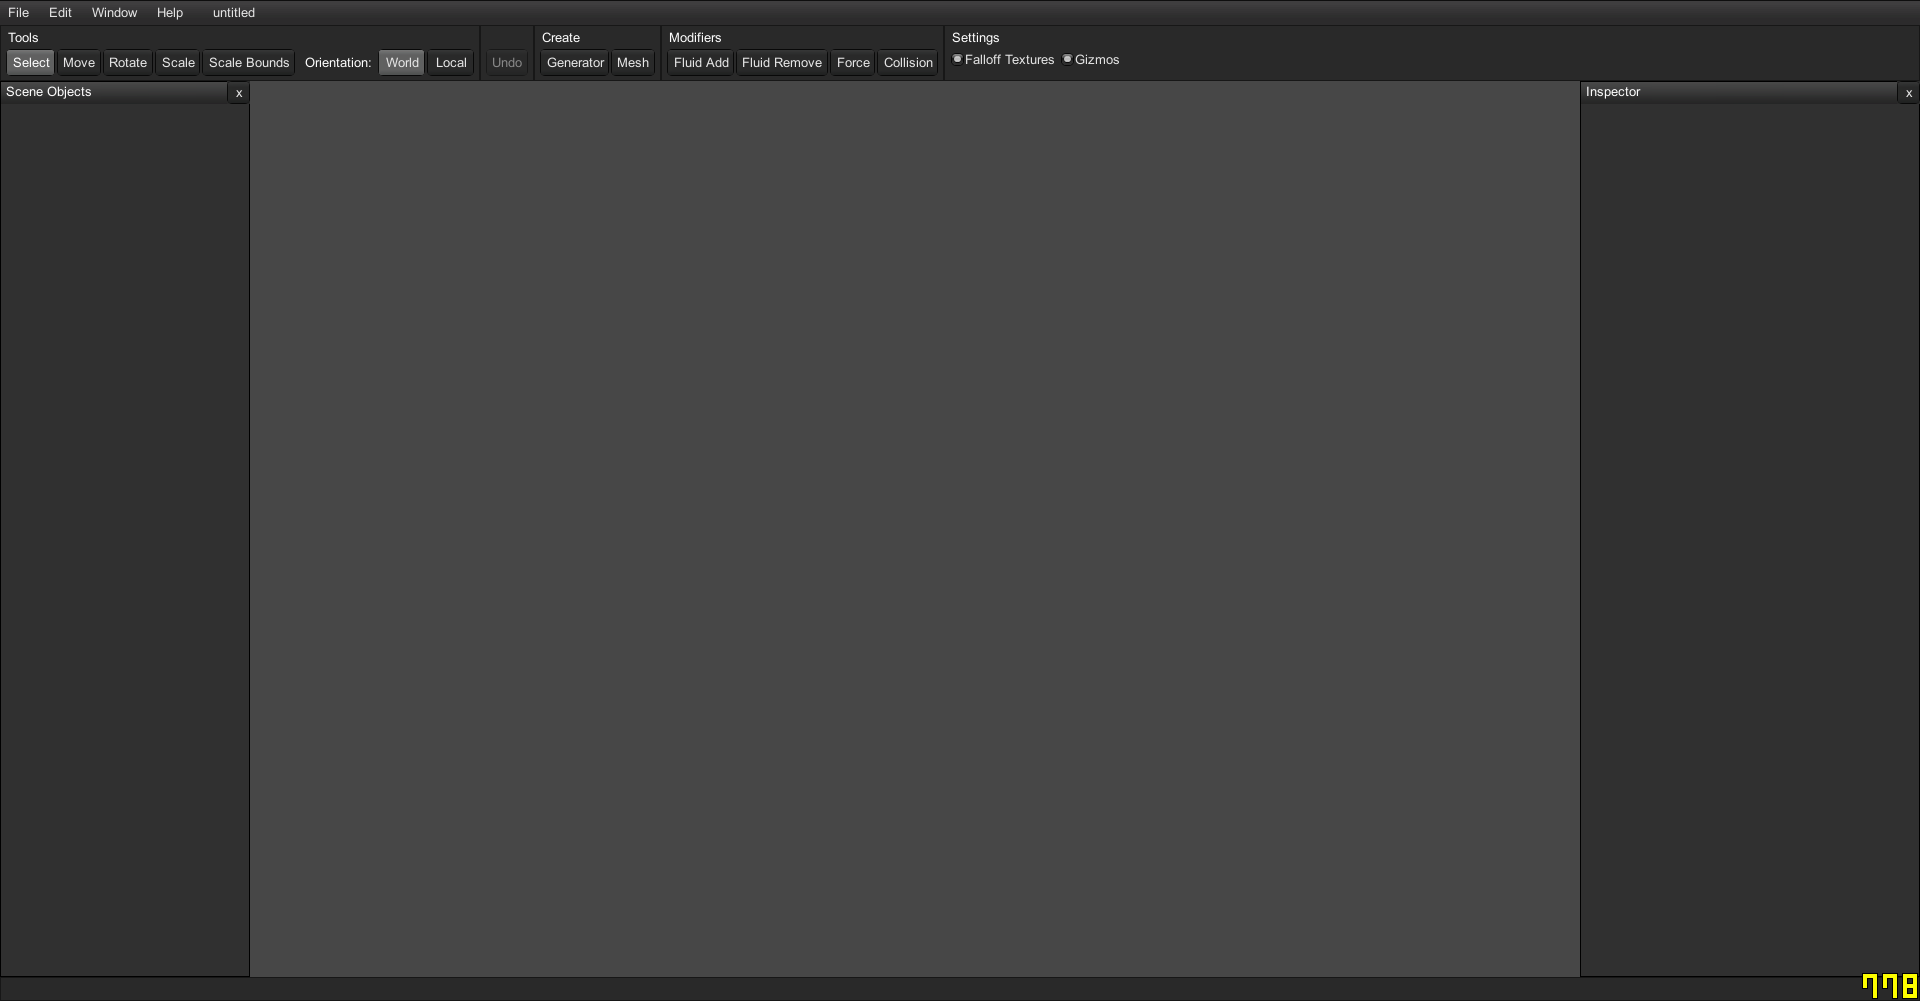
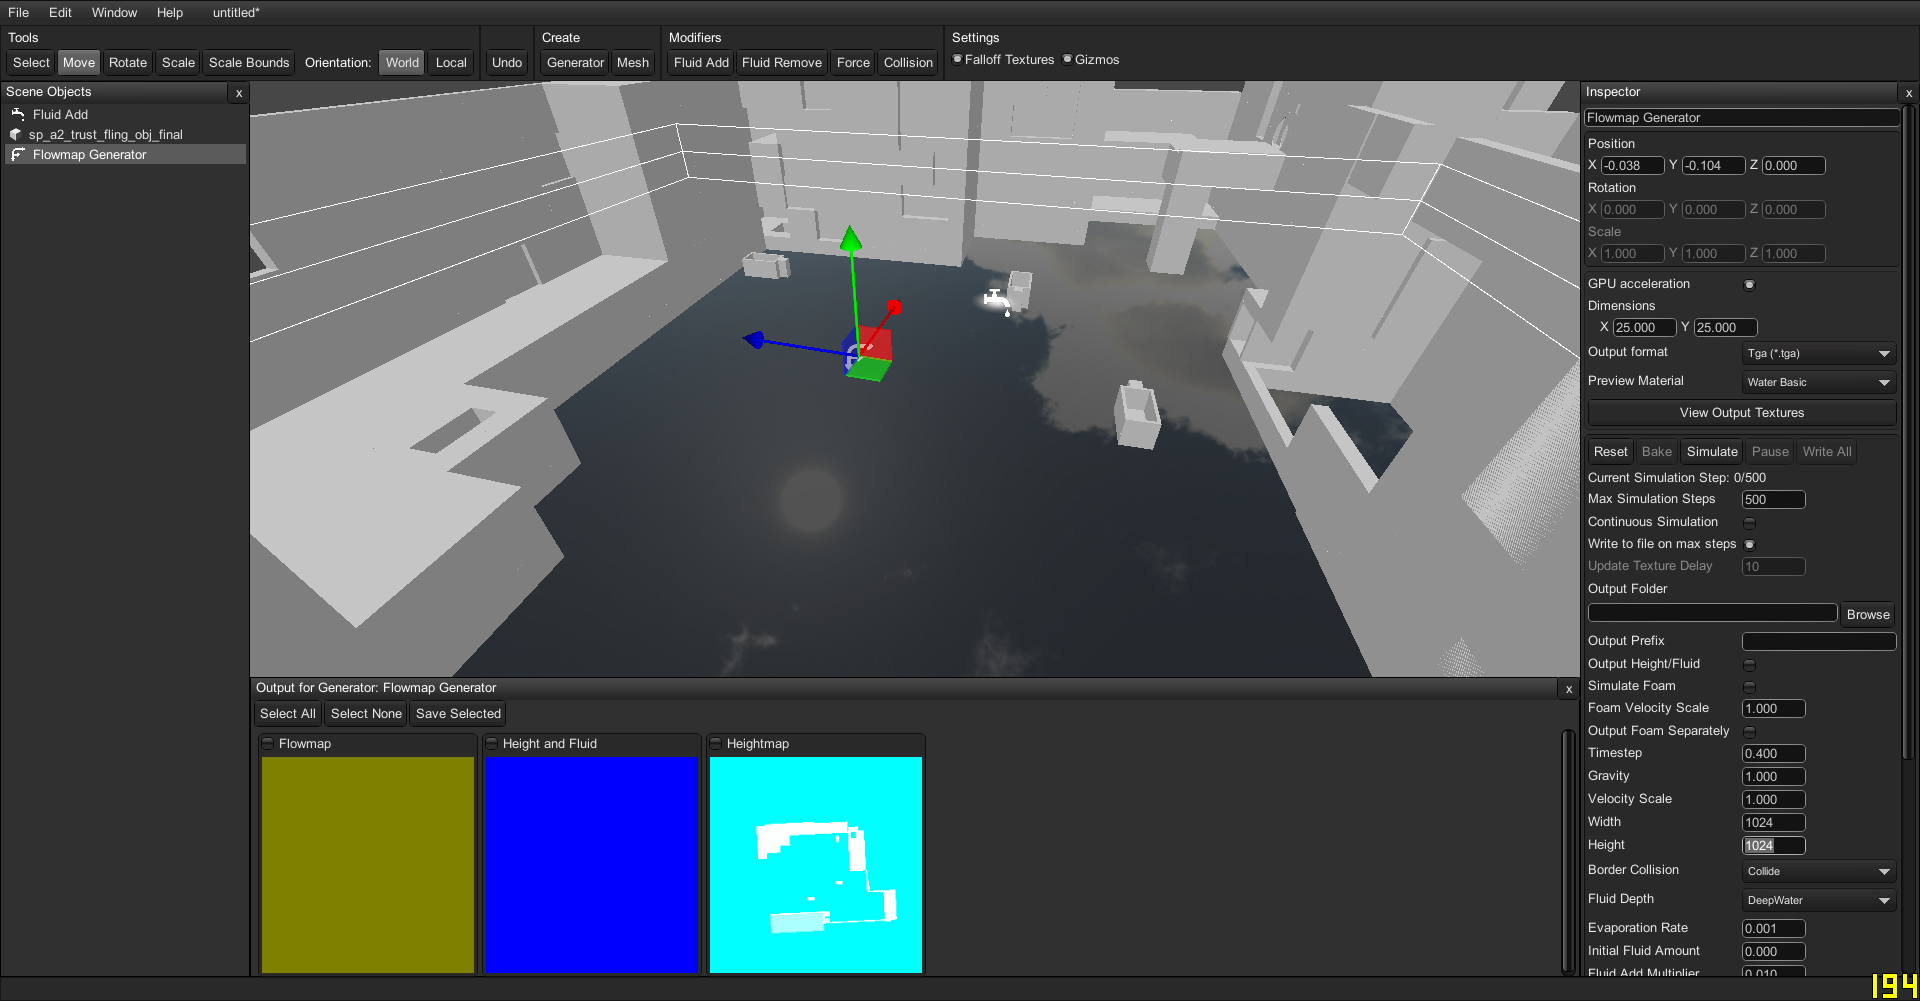
Make a new project, and create a generator, then click Mesh to import a mesh.
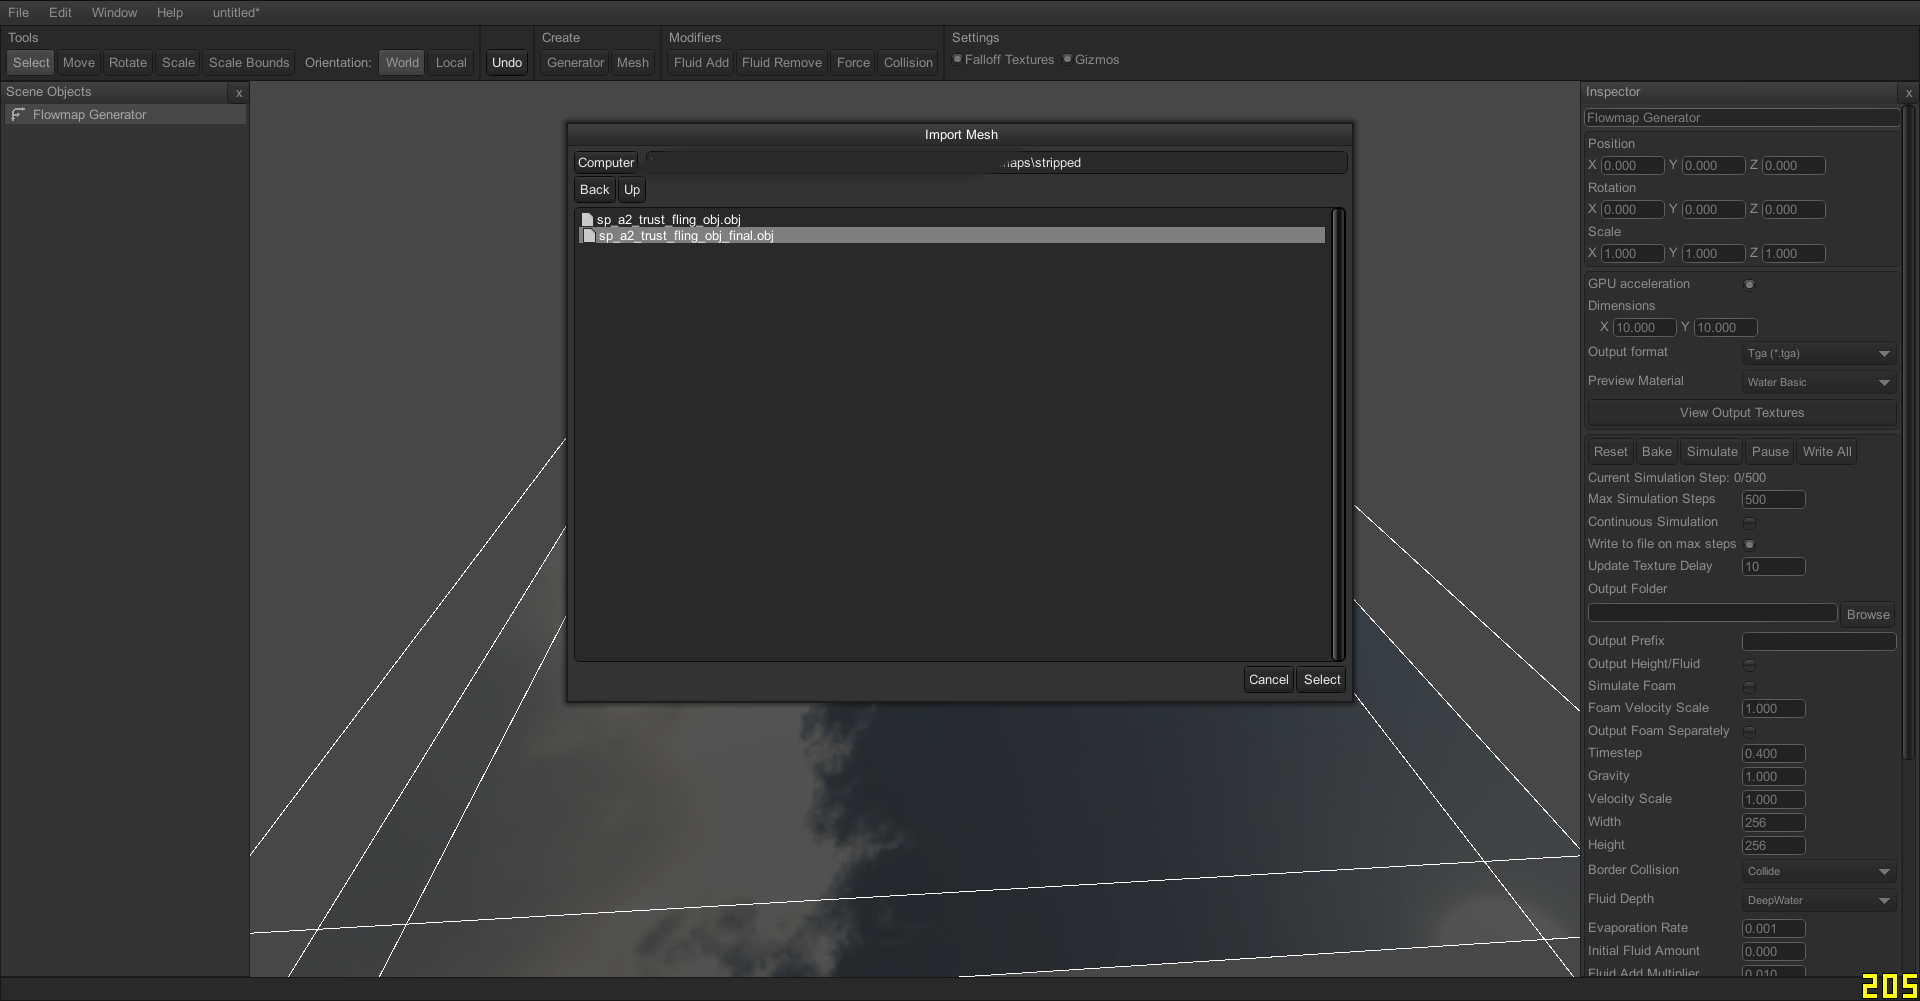 Alright, once the mesh is imported you’ll need to rotate and scale it.
Warning: the rotate feature is really finicky, it might put your model off on slight rotations, always check the values it reports for rotation!!
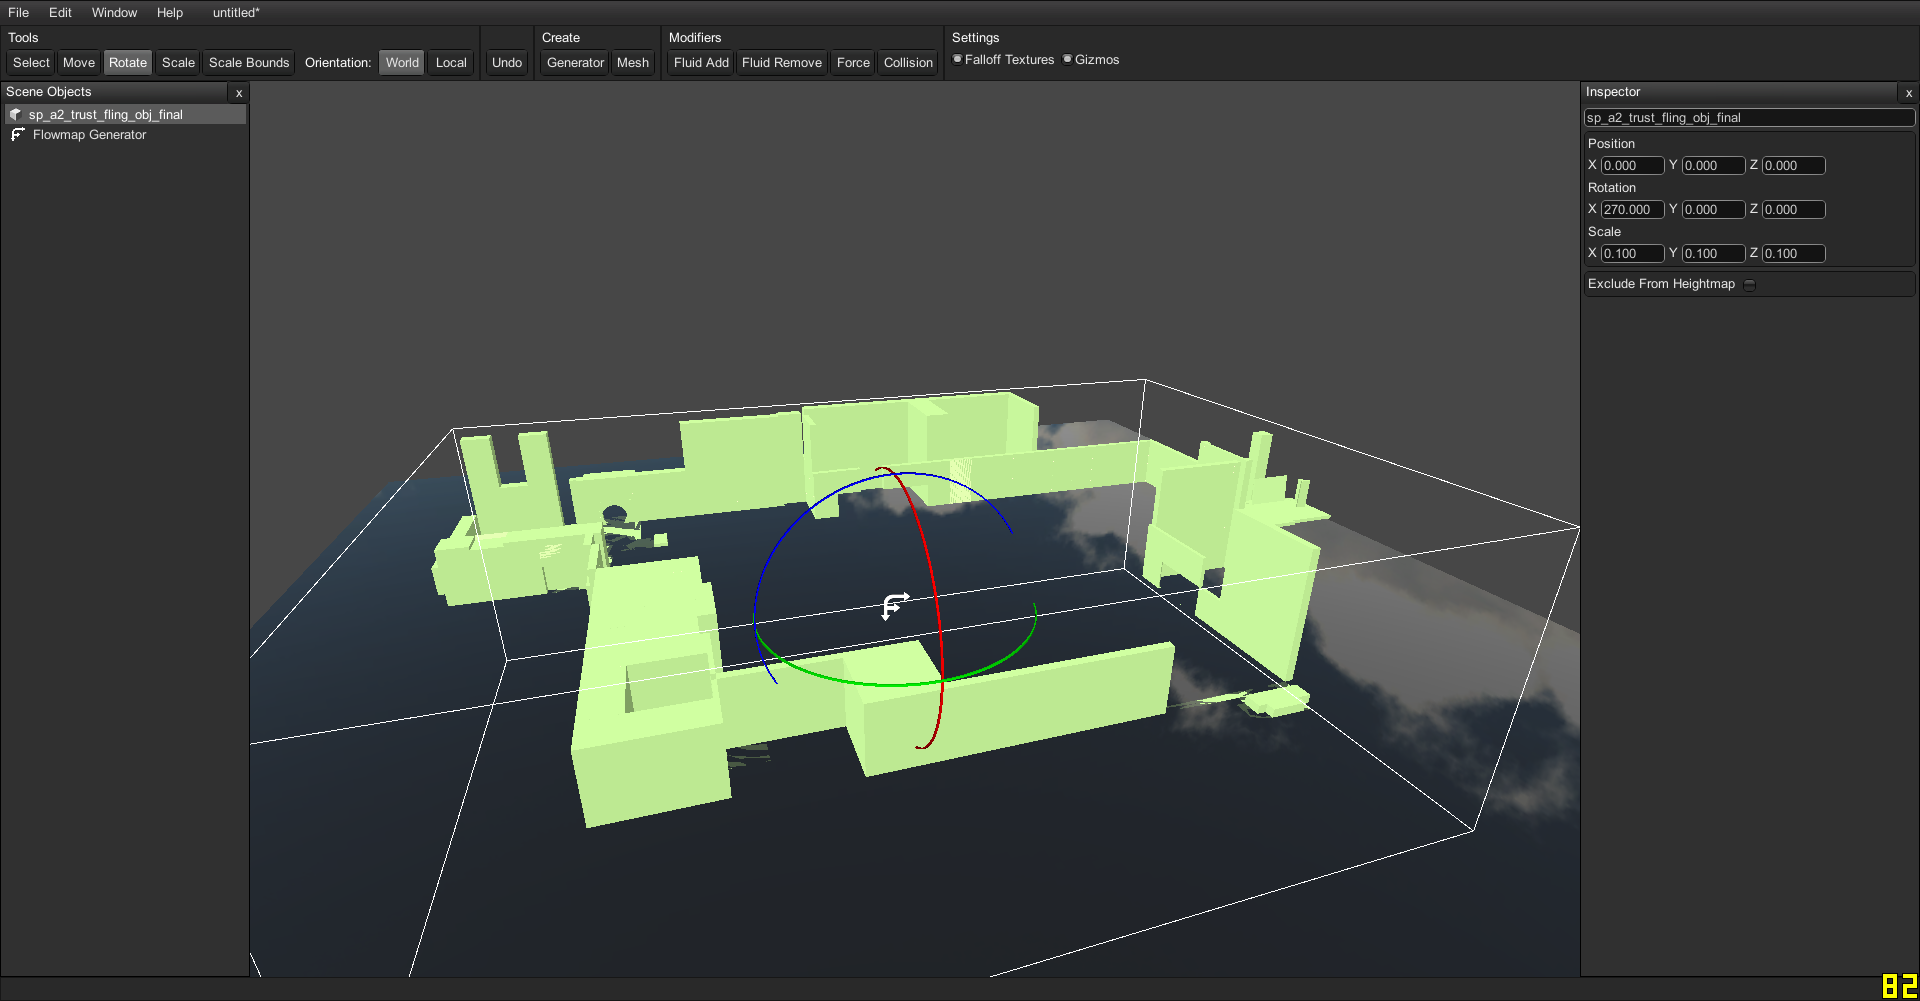 Now you just need to position the water/model so that it lines up with where the water is in map, This is a good time to use whatever method you created earlier; else you’ll need to eyeball it. * My rotation is incorrect in this screenshot.
You can pull up the output textures by selecting the water and clicking the respective button, you’ll probably need to modify the heightmin and heightmax of the water.
For maps that you removed the ceilings and floors, and only things colliding with the water remain, maxing the previous variables to encapsulate the tallest object works fine.
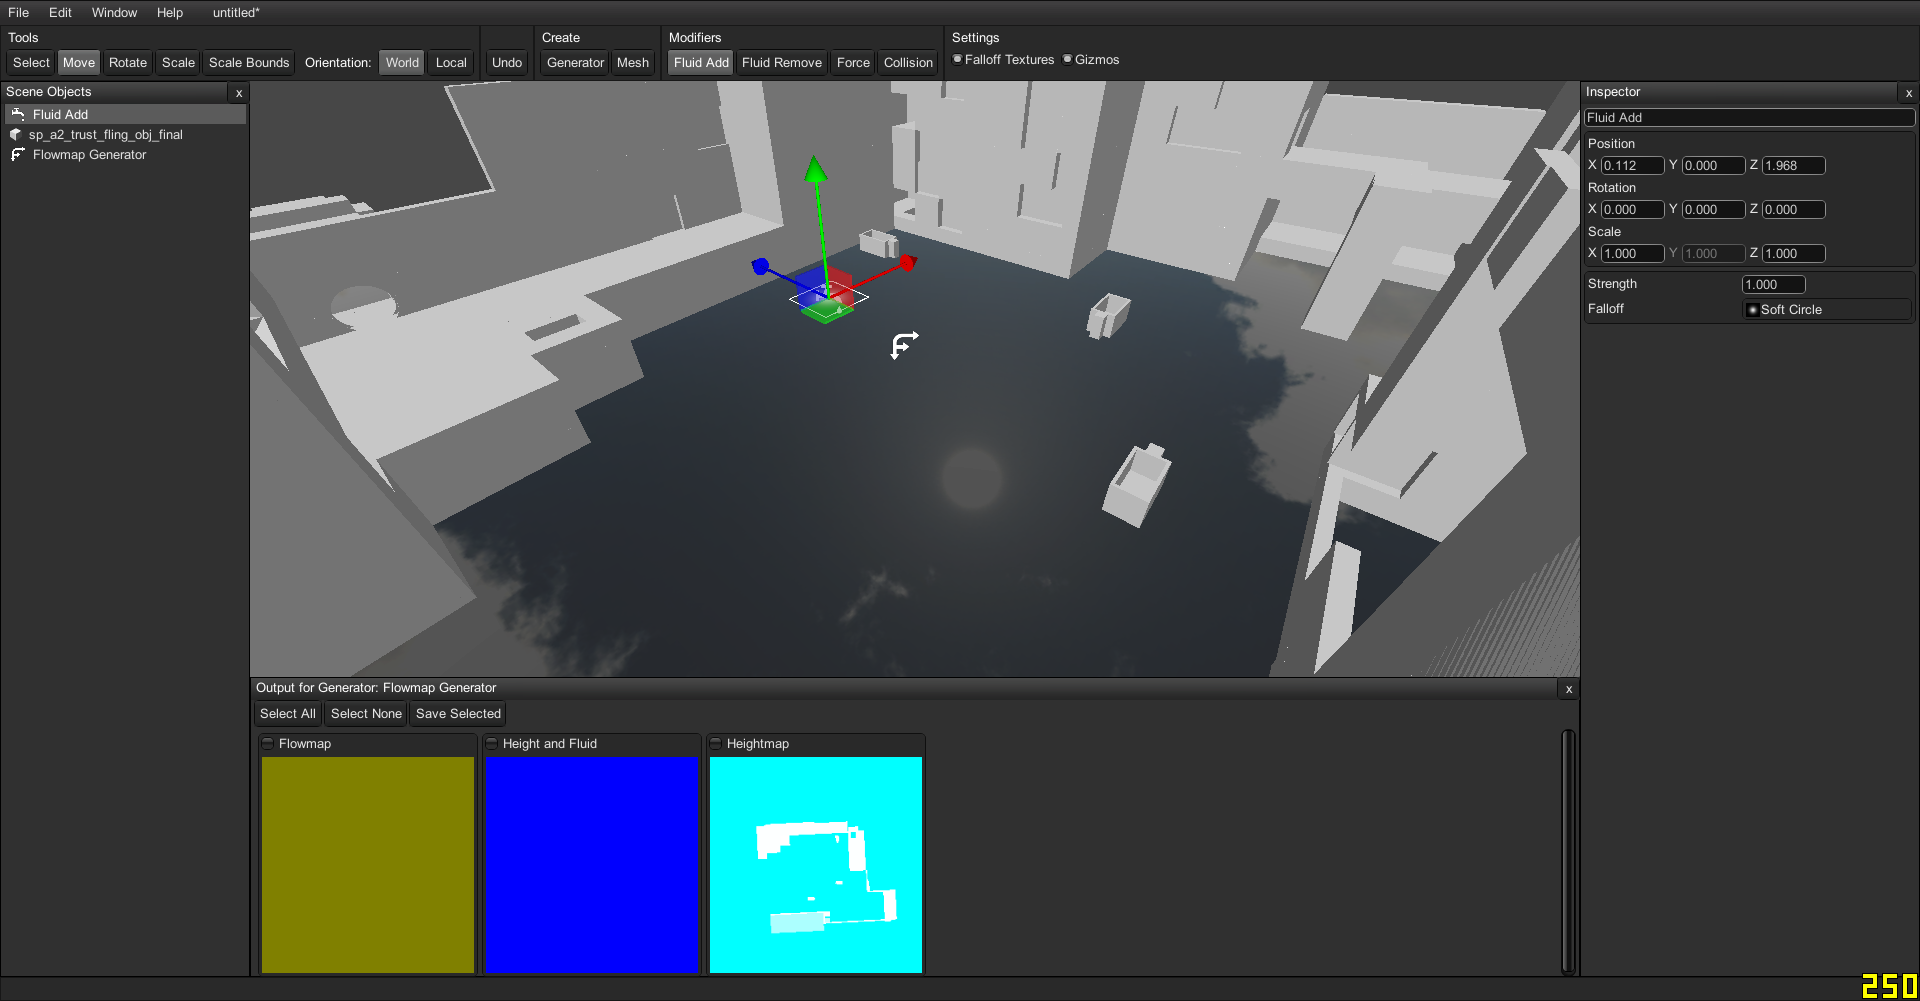
You’ll then need to the “Add Water” utility, then place it somewhere: this is going to be where the water flows from. You are encouraged to play around with this program, it’s very powerful, and this tutorial won’t go over everything.
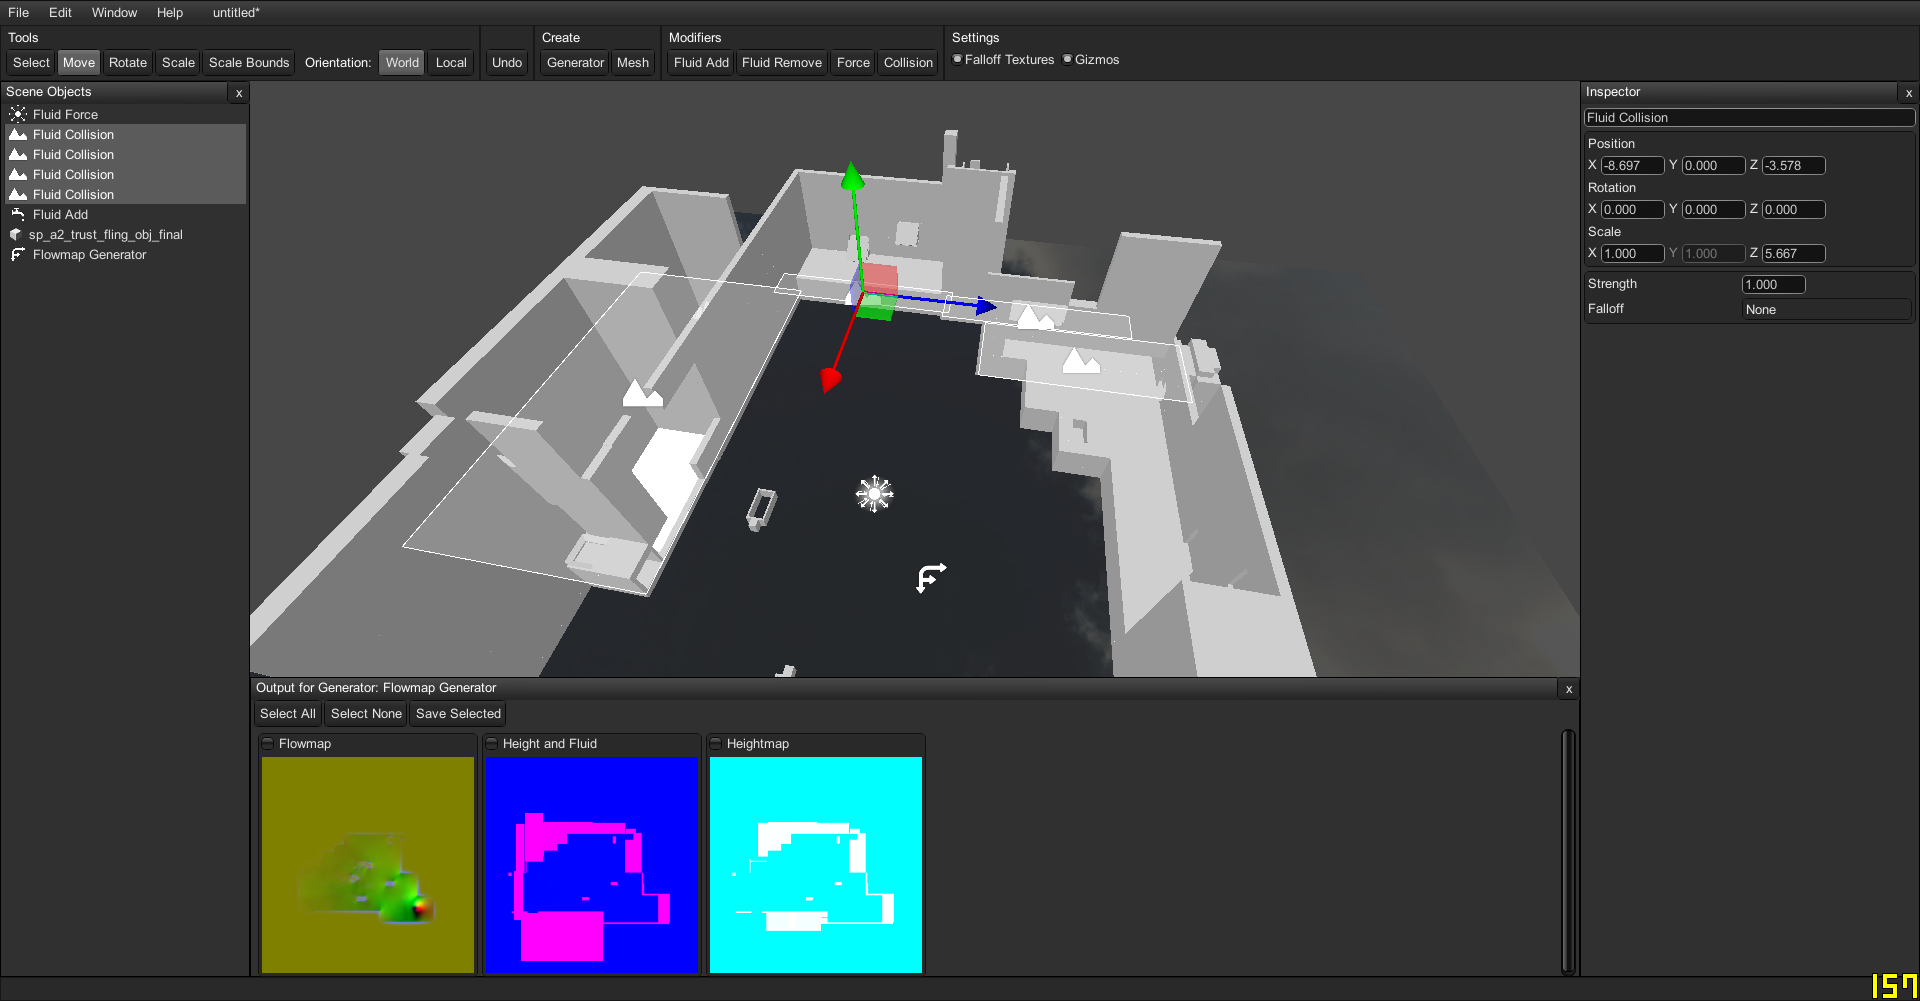
The map may leak, due to collision issues.
Use collision modifiers and block the level out if need be; it should fix the problem.
Add force modifiers, a drain, then let it flow:
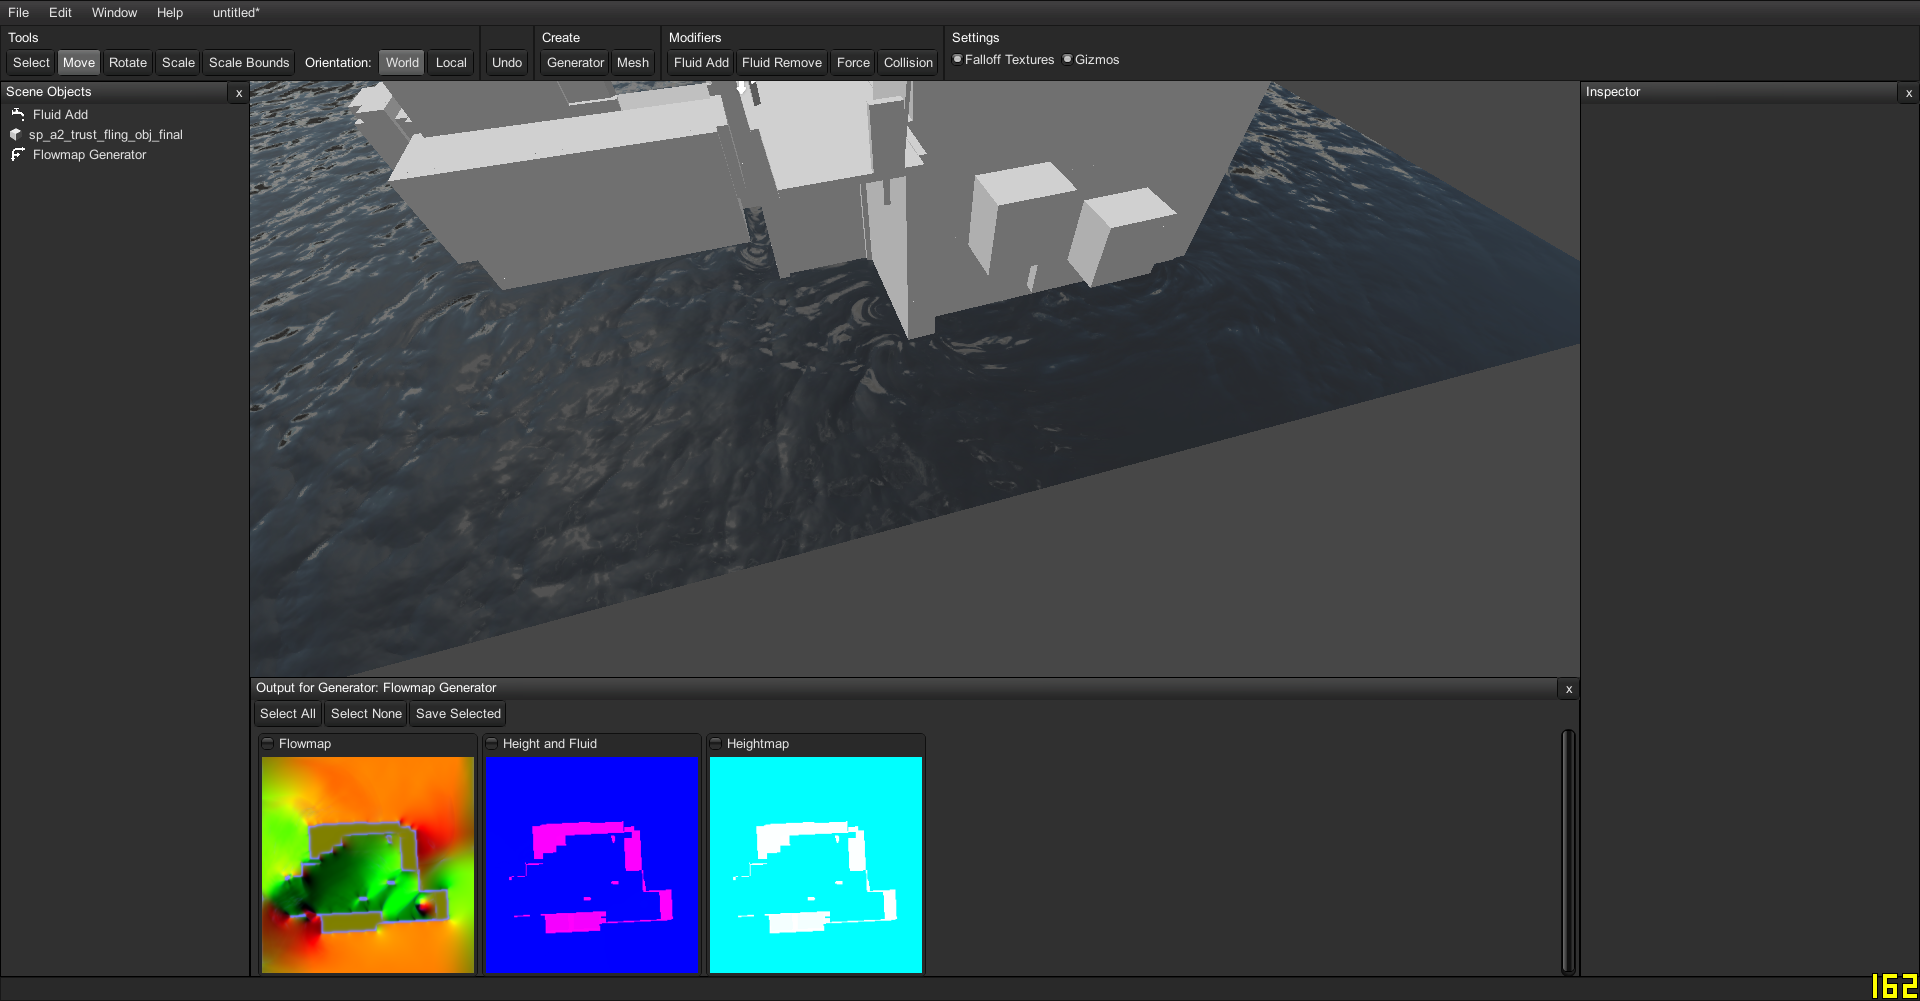
You’ll need to specify a location for the bakes to go, then a max step (how long to simulate). You can also modify resolution and everything in here, play around to get it right. You’ll probably want to bake the Foam to a separate file, since it’s going into the Alpha.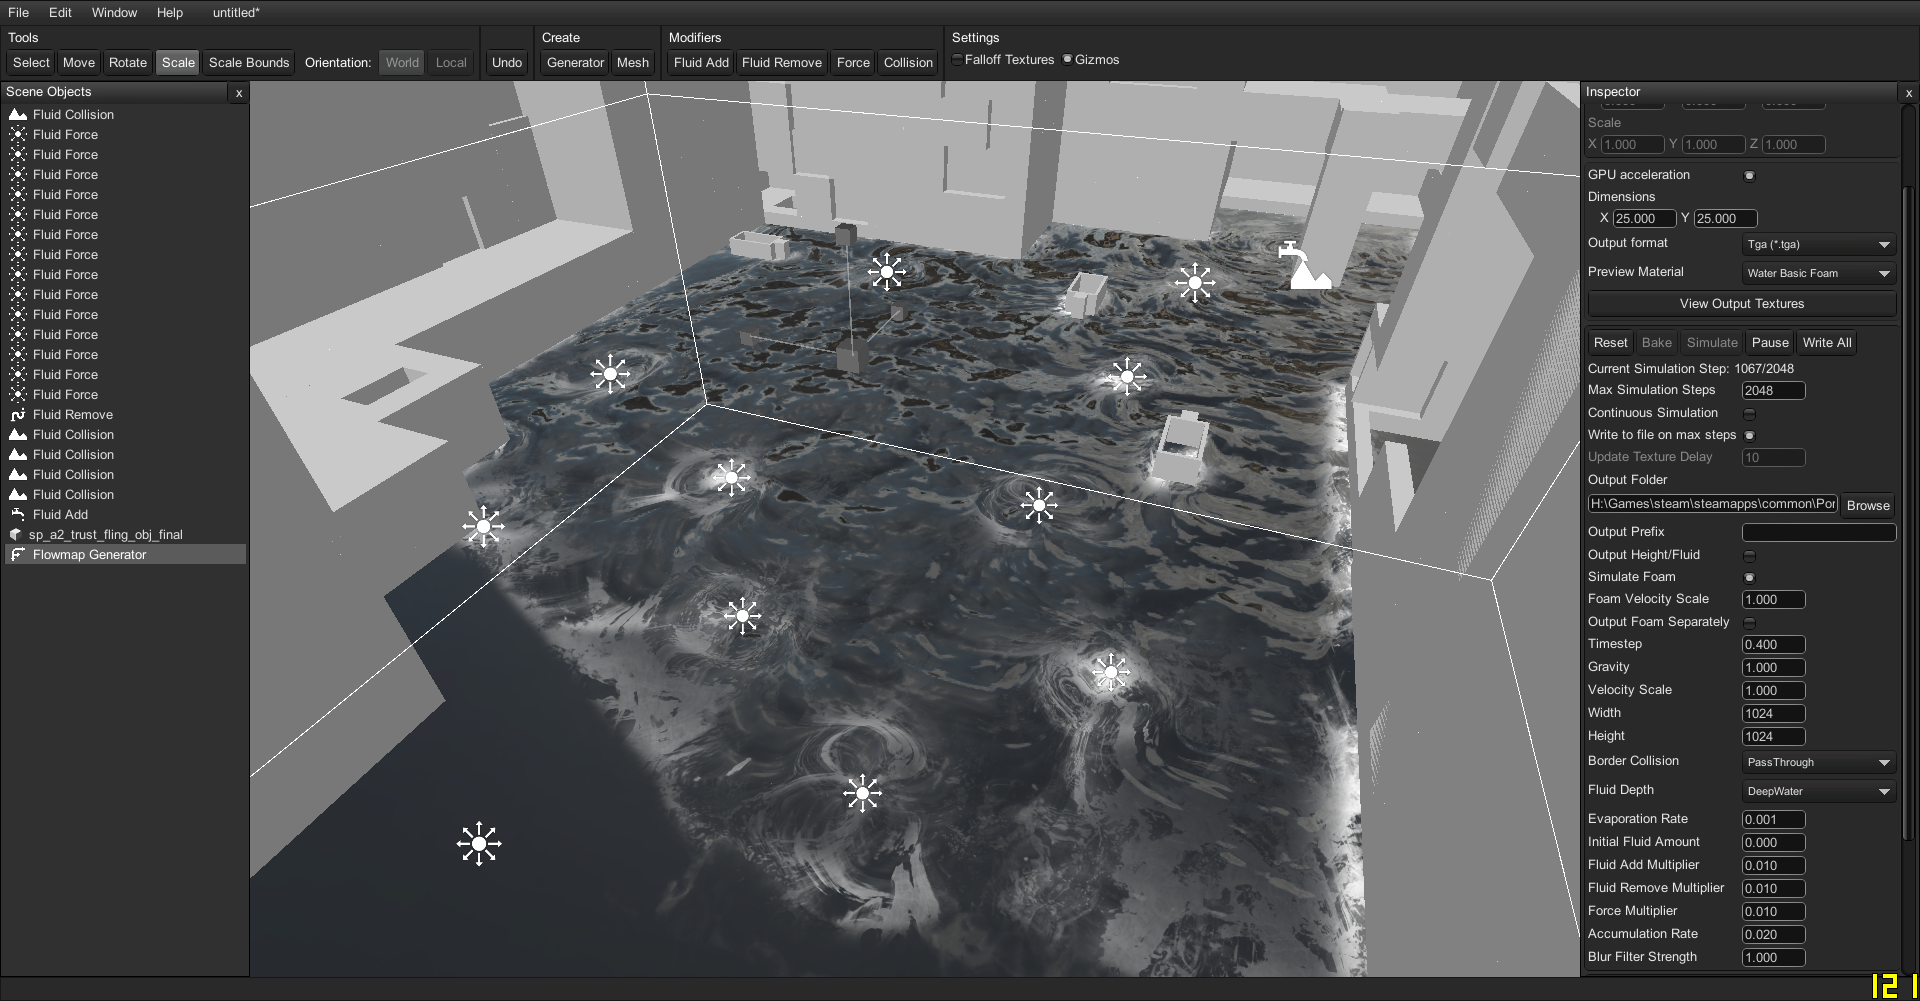
And you’re done!
This wraps it up for Part 1, We’ll finish with editing the image, and get it into Source next part!
Link to Part 2: http://glitchvid.com/?p=371


